REVIEW · BIG ISLAND OF HAWAII
Mauna Kea Stargazing Experience + Photos
Book on Viator →Operated by Epic Tours · Bookable on Viator
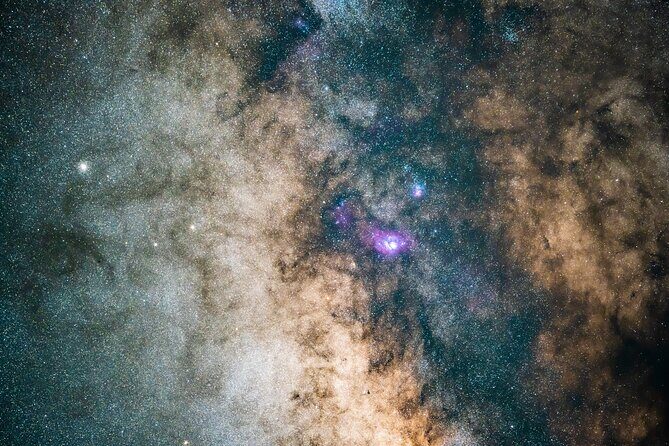
The Milky Way hits different in real darkness. This Mauna Kea night experience pairs an astronomer-guided sky talk with smart telescope viewing at a remote spot away from headlights.
I really like how the crew keeps the vibe small (up to 30 people) and how they time your session to reduce bright moonlight. I also like that you get more than just stargazing—there are complimentary portraits and medium-resolution photos taken for you, with guides like Dylan and James making time for questions.
The main thing to plan around is the cold. Weather can reach around 30°F, and while parka jackets are provided, you’ll likely still want gloves and a warm hat to stay comfortable.
In This Review
- Key things I’d book this for
- Why this Mauna Kea stargazing setup beats the usual visitor-center scene
- The smart telescope session: what the 90 minutes feels like
- The lineup of guides: Dylan, James, Shannon, Malia, and Luke
- Remote stargazing on Mauna Kea or Mauna Loa: what you gain from the change
- Cold-weather reality: jackets, layers, and staying comfortable at 30°F
- Photos after the trip: what you get for free and what you might upgrade
- Price check: $299 per person and whether it’s real value
- Logistics that matter: meeting at Pu’u Huluhulu and getting there ready
- Who should book, and who should skip this stargazing night
- Should you book Epic Tours for Mauna Kea stargazing?
- FAQ
- Where is the meeting point for this Mauna Kea stargazing experience?
- How long does the stargazing experience last?
- Are photos included, and when do I receive them?
- What should I wear for the cold on Mauna Kea?
- Is hotel pickup or drop-off included?
- What happens if the sky is cloudy?
- Are children and service animals allowed?
Key things I’d book this for
- Remote, low-light locations chosen to dodge crowds, headlights, and glare
- Celestron Origin smart telescope used for guided deep-sky viewing
- Stargazing guarantee if clouds ruin the view, the tour is free
- Astronomer + astro-photographer team so you get both answers and images
- Complimentary Milky Way portraits plus medium-resolution photo files included
Why this Mauna Kea stargazing setup beats the usual visitor-center scene
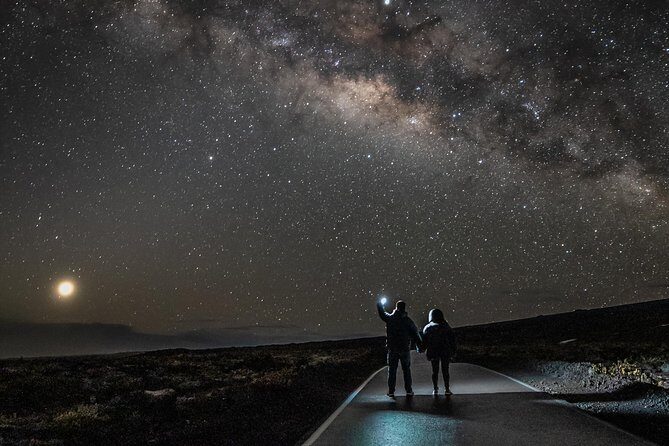
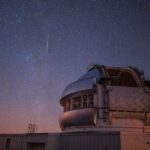
Mauna Kea can be a star show. But it can also be a parking-lot show. This experience is built around the idea that the sky looks best when you’re away from other groups and scattered lights. Instead of hanging around the busy Onizuka Visitor Center area, your evening is set up in quieter, darker spots on Mauna Kea or Mauna Loa.
There’s also real logic in the timing. Your time slot is handpicked to avoid bright moonlight. That matters because moon glare can wash out the faint stuff you came for—like nebulae and far-off star clusters—making the whole night feel less magical than it should.
I’d also call out the group size. With a max of 30 people, the night stays calmer and more “listen and look” than “shuffle and squint.”
Other Mauna Kea stargazing and summit tours in Big Island of Hawaii
The smart telescope session: what the 90 minutes feels like
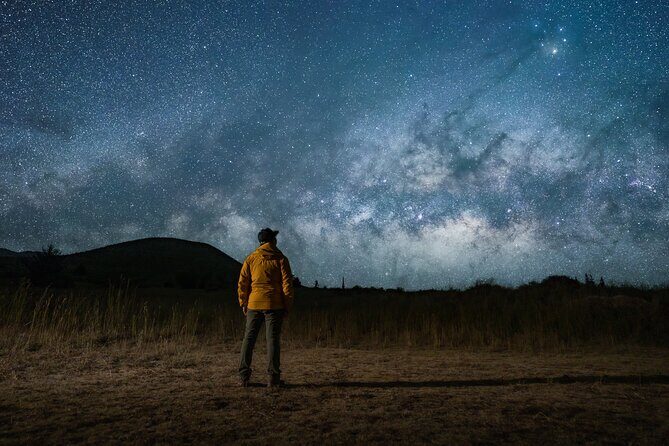
Your evening is roughly two hours total, with about 90 minutes at the observing location. You’re not just pointed at constellations. You get a guided star talk led by an astronomer and astro-photography team, using a Celestron Origin smart telescope.
Expect the night to flow in layers:
- You start with a guided explanation of what you’re seeing in the sky.
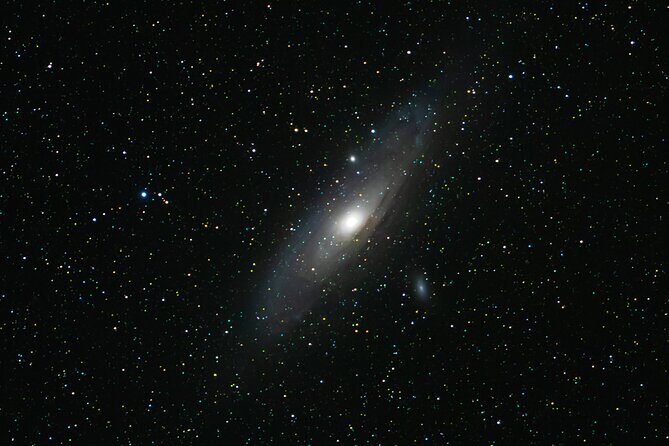
- Then you move into close-up telescope views of deep-sky targets like nebulas, star clusters, and galaxies.
- You’ll also get a chance to ask questions and get answers in real time as the sky changes.
One detail that comes up repeatedly in how the guides teach: it’s interactive. Dylan, for example, is described as funny and outgoing, and that style matters when you’re standing outside in the cold trying to understand a black sky. James is also mentioned for communication and keeping the group engaged, which helps when the sky talk could easily become a lecture.
And yes, there’s a laser involved. The team uses a green laser pointer to help you line up what they’re talking about, so you’re not guessing where they mean when you’re looking up.
The lineup of guides: Dylan, James, Shannon, Malia, and Luke
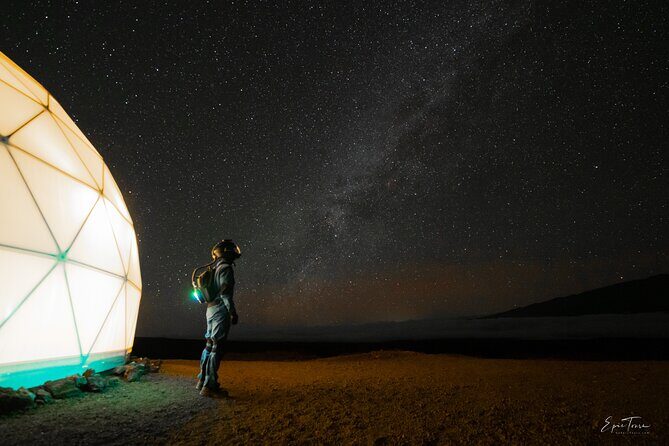
A lot of stargazing tours are “one person points, everyone watches.” This one is more like a small team with different jobs.
From the experience descriptions and guide callouts, you might run into:
- Dylan, often described as a star guide who brings humor and lots of astronomy talk
- James, often noted for communication and organizing the evening
- Shannon, mentioned as a photographer in some evenings, with examples of deep-sky targets captured
- Malia, referenced as the photographer for portraits and telescope images
- Luke, credited in some nights for keeping guests warm with blankets and hot chocolate
What I like about this setup is how it supports different comfort levels. If you want to ask questions, you can. If you just want to sit back with cocoa and stare, the guide’s pacing can still let you enjoy the dark-sky view without feeling left out.
Remote stargazing on Mauna Kea or Mauna Loa: what you gain from the change
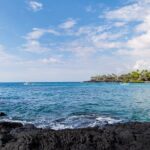
Even when the meeting point is at Pu’u Huluhulu Cinder cone parking lot, you’re not staying there for the whole night. The experience is designed around getting to darker land with better viewing. Sometimes that means shifting between Mauna Kea and Mauna Loa, depending on what the conditions allow.
Why do you care? Because cloud edges, light pollution, and headlights can turn “wow” into “meh” fast. Several guests describe seeing a far quieter scene at their site compared to busier stargazing pull-offs. That’s the kind of difference you can actually feel: the sky looks deeper, and the stars look sharper.
Also, if you’re lucky, the night can throw in extra moments like shooting stars. Some guests mention meteors showing up during the session, and that’s one of the reasons these tours are worth the effort—you’re not just paying for equipment. You’re buying the chance that the sky does something special while you’re paying attention.
Cold-weather reality: jackets, layers, and staying comfortable at 30°F
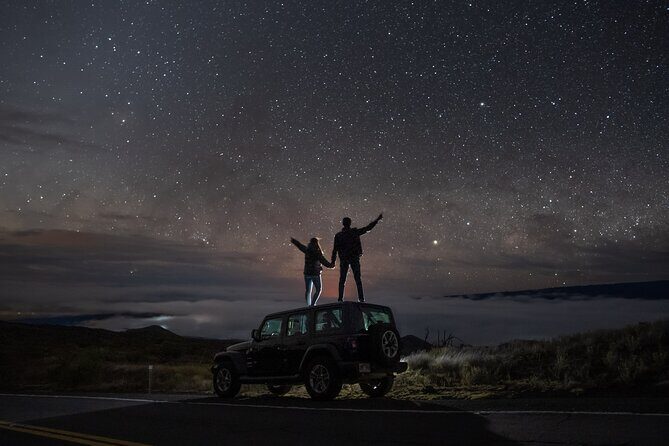
Let’s be honest. This is outside, at elevation, at night. If you don’t prep, you’ll spend the tour thinking about your fingers instead of Orion.
The tour provides parka jackets (with pockets and a hood), but the weather can reach around 30°F, and one jacket may not be enough for everyone. The dress code asks for pants and closed-toed shoes, but your best move is to treat this like a serious winter outing:
- Wear base layers and something warm under the parka
- Bring gloves and a hat if you have them
- Use sturdy closed-toe shoes (not just for safety—cold feet ruin stargazing)
In reviews, people mention that the team also brings warm drinks—hot cocoa and coffee/tea show up in some evenings. That’s a helpful bonus because it lets you warm up without leaving your observing spot.
Finally, manage expectations. The tour operates in all weather conditions, and the viewing location is selected with real constraints in mind. So the best approach is to dress for the worst and hope for the best.
Other photography tours in Big Island of Hawaii
Photos after the trip: what you get for free and what you might upgrade
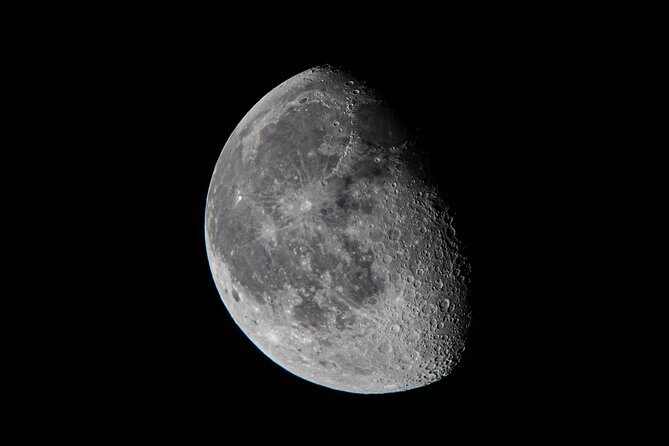
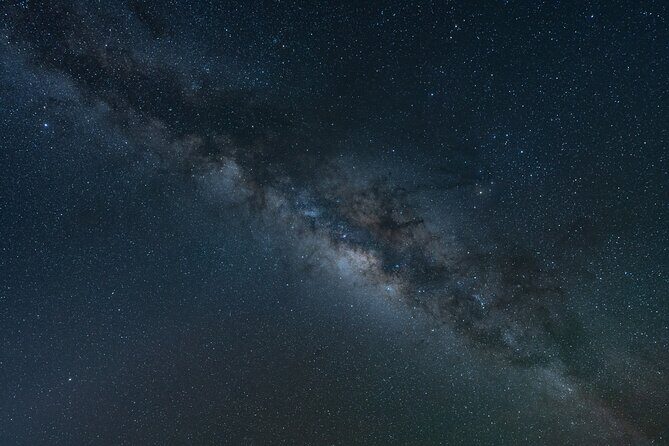
Most stargazing tours give you instructions and maybe a shared group photo. This one includes photography as part of the experience: a professional photographer guide takes complimentary portraits with the Milky Way as a backdrop.
You’ll also receive medium-resolution photos after the trip. Those files are meant as your souvenir set, and they’re included at no extra cost.
Two practical notes based on what’s shared:
- Some guests are very happy with the complimentary images, saying the Milky Way looks extremely clear and that telescope subjects like Orion and the Andromeda Galaxy show up well.
- Other guests note that if you want higher-quality or higher-resolution upgrades, there are optional paid photo upgrades.
So here’s the way I’d think about it: if you’re okay with a nice souvenir set for sharing and memory, plan on staying with what’s included. If you want print-ready, high-resolution keepsakes, budget extra for upgrades before you go.
And one more “don’t get burned” tip: because your photos are personalized, make sure the photographer has the right identifiers (names and your party info) while you’re there. If anything feels off, ask on the spot.
Price check: $299 per person and whether it’s real value
At $299 per person, you should expect more than a quick constellation tour and a generic group shot. The value here is in the combination.
You’re paying for:
- An astronomer-led guided star talk (not just a map explanation)
- Deep-sky viewing through a smart telescope
- A professional astro-photographer for portraits with the Milky Way
- Complimentary medium-resolution photos
- Parka jackets for weather comfort
- A stargazing guarantee: if the stars don’t show, the tour is free
Could you DIY stargazing on the Big Island? Sure—you can find dark places and point your camera at the sky. But what you gain with this tour is structure (what to look at and when), equipment handling (so you’re not guessing settings), and guided interpretation (so it actually means something). You also get that “quiet site” advantage, which is hard to recreate if you’re trying to beat crowds and headlights on your own.
The flip side is that if you’re expecting luxury transport, hotel pickup, or a cinematic show at a guaranteed pitch-black location every single time, this won’t match that idea. It’s a weather-dependent outdoor experience. The tour is set up to respond to conditions, but it’s still the sky, not a theme park.
Logistics that matter: meeting at Pu’u Huluhulu and getting there ready
This experience starts and ends back at the meeting point: Pu’u Huluhulu Cinder cone parking lot on the Big Island. There’s no hotel pickup or drop-off, so plan your own drive.
That matters because some guests describe the road leading up to the meeting location as dark and curvy. You don’t want to be figuring out directions at night with cold hands. I’d treat this as a “get there early enough to relax” situation:
- Arrive with time to park and gather layers
- Have the meeting info ready on your phone
- Keep your contact details current so the team can reach you if conditions change
Also, the activity ends where you started. So think about your transport home before you commit. You’ll likely be tired and cold after the session.
Who should book, and who should skip this stargazing night
This is a great fit if you want:
- A guided introduction to the sky (and not just a quick photo stop)
- Hands-on telescope views of deep-sky objects
- A team approach where you can ask questions and still enjoy the night
- Complimentary photos and portraits without needing to bring your own setup
It’s also capped at 30 people, which helps keep the experience calm and manageable.
It may not be the right fit if you have mobility/ambulatory restrictions, or if you have back, heart, or hearing problems, or other serious medical conditions. The tour notes moderate physical fitness is needed, and it also says it’s not recommended for some senior citizens. Service animals are allowed, and children must be accompanied by an adult.
One more practical hint: if you’re the type who gets upset when the weather is imperfect, take that into account. The whole point is watching the real sky. Even with the guarantee, the experience can still feel different when conditions shift.
Should you book Epic Tours for Mauna Kea stargazing?
I’d book this if you want guided astronomy with real equipment, plus photos taken for you, in a darker location that avoids the usual light pollution problem. The stargazing guarantee and the team setup (astronomer + astro-photographer) are the big reasons it feels worth the money to me.
Skip it or think twice if you:
- Don’t like cold nights and won’t dress for it
- Need hotel pickup or door-to-door convenience
- Are expecting a flawless, identical viewing outcome every time
If you do book, do two things that pay off fast: pack warm layers beyond just the parka, and make sure your contact and party details are clear so you get the photo souvenir set you’re counting on.
FAQ
Where is the meeting point for this Mauna Kea stargazing experience?
You meet at the Pu’u Huluhulu Cinder cone parking lot on the Big Island of Hawaii. The tour ends back at the same meeting point.
How long does the stargazing experience last?
The experience is about 2 hours total, with about 90 minutes spent at the guided observing portion.
Are photos included, and when do I receive them?
Yes. You receive complimentary medium-resolution photos after the trip. Optional photo upgrades are available if you want higher-quality files.
What should I wear for the cold on Mauna Kea?
Wear pants and closed-toed shoes. Weather can reach around 30°F. Parka jackets are provided, but you should still dress warmly.
Is hotel pickup or drop-off included?
No. Hotel pickup and drop-off are not included, so you’ll need to arrange your own transport to the meeting point.
What happens if the sky is cloudy?
The tour includes a stargazing guarantee. If the stars don’t show due to clouds, the tour is free. If the experience is canceled due to poor weather, you’ll be offered a different date or a full refund.
Are children and service animals allowed?
Children are allowed but must be accompanied by an adult. Service animals are allowed.